


£1,557.39 Inc VAT ( £1,297.83 Ex VAT )
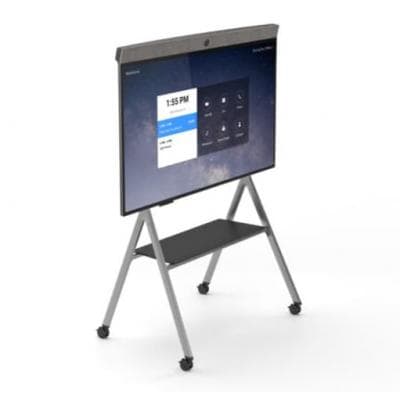
- AV Cart designed for the Neat Board
- Designed for video conferencing & collaboration rooms
- Steel construction
- Rolling cart (4 wheels)
- Image is for illustration purposes only, Neat Board must be bought separately
31 in stock
Rolling AV Cart Designed For The The Neat Board 65″ Interactive Display
Note: Requires the Neat Board
Neat Board – Rolling Floor Stand with optional wheels, wall mount or table stand. The Neat Board rolling floor stand facilitates the mobility of the board to one meeting space to another without risking the board meanwhile is being transported.
Shipping Specificiation
- Width: 45.5 inches
- Height: 35.4 inches
- Depth: 9.5 inches
- Weight: 45 pounds
- Able to move Neat Board to any room
- Tray for storage
- Cable gate for clean cabling
- Simple setup
- 1x Tray
- 2x Floor Stand Leg?
- 2x M6 screw (3 inches / 75 mm)?
- 1x 5 mm hex wrench?
- 12x M4 screw (0.3 inches / 8 mm)
- 1x 3 mm hex wrench?
- 4x Wheel?
- Long power cord
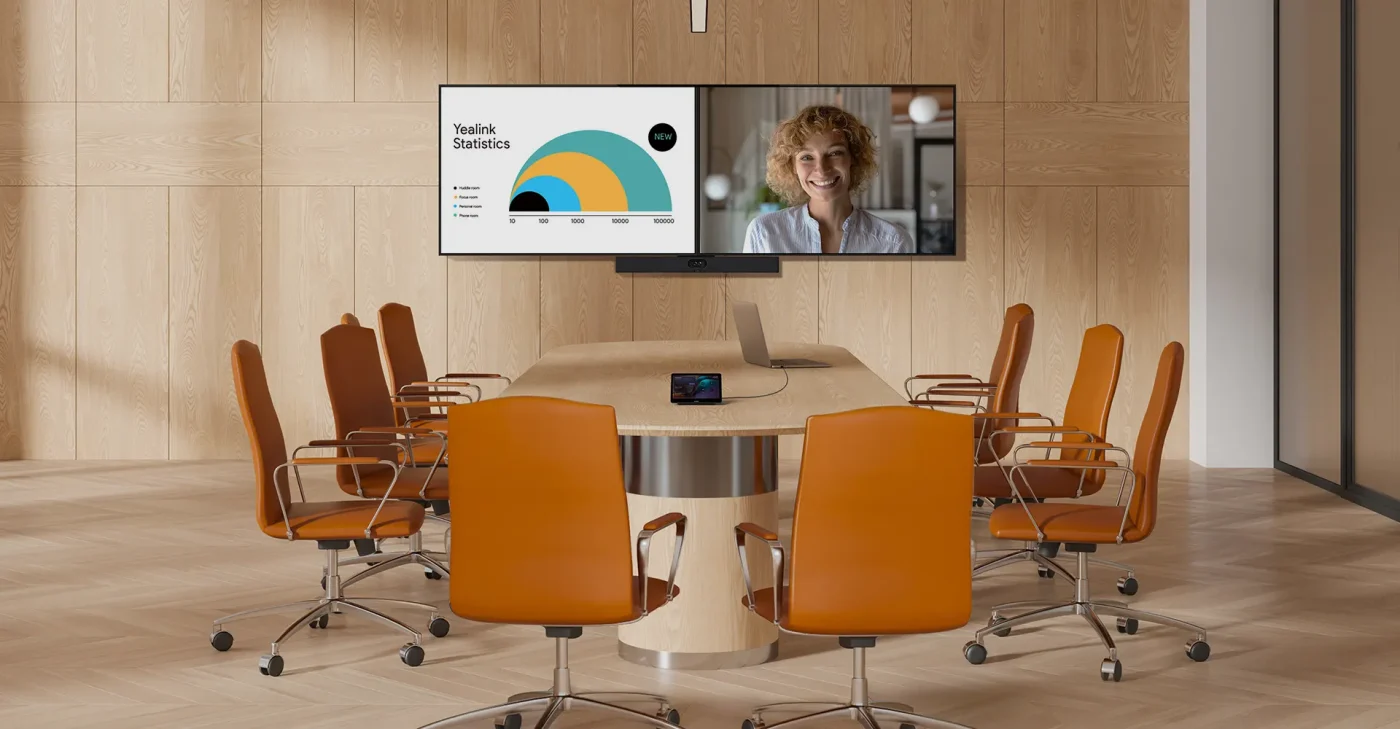
Designed to provide everything you need in your meeting room today, Neat Board gives you the freedom and flexibility to collaborate however you want in the future. It’s also easy to set up, having just one cable and a choice of either a floor stand with optional wheels, wall mount or table stand.
[/vc_column_text][/vc_column_inner][/vc_row_inner][vc_row_inner equal_height=”yes” content_placement=”middle” disable_element=”yes”][vc_column_inner width=”1/2″][vc_custom_heading text=”Immersive Voice In Every Corner” font_container=”tag:h3|text_align:center” use_theme_fonts=”yes”][vc_column_text]The built-in 8 MEMS microphone arrays and speaker in Yealink MeetingBar, completely cover up to 6-meter medium-sized spaces. As the MeetingBar is equipped with a powerful independent audio processing unit, you can enjoy a worry-free, full-duplex voice experience with superior performance. [/vc_column_text][/vc_column_inner][vc_column_inner width=”1/2″][vc_single_image image=”32723″ alignment=”center”][/vc_column_inner][/vc_row_inner][vc_row_inner equal_height=”yes” content_placement=”middle” disable_element=”yes”][vc_column_inner width=”1/2″][vc_single_image image=”32722″ alignment=”center”][/vc_column_inner][vc_column_inner width=”1/2″][vc_custom_heading text=”AI-Based Voice” font_container=”tag:h3|text_align:center” use_theme_fonts=”yes”][vc_column_text]Yealink enhanced AI noise cancellation makes the audio experience more brilliant. Leveraging a massive deep-learning sound database to reduce background noises, it is more about intelligent audio analysis than standard filtering of audio frequencies. The distracting keyboard clatter, mouse clicks, footsteps, and other ambient noises are smartly pared back, ensuring that users enjoy crystal-clear audio quality. [/vc_column_text][/vc_column_inner][/vc_row_inner][/vc_column][/vc_row][/vc_section][vc_row disable_element=”yes”][vc_column][vc_empty_space height=”50px”][vc_custom_heading text=”Yealink A20 FAQ” font_container=”tag:h2|font_size:40px|text_align:center|color:%237000f4″ use_theme_fonts=”yes”][vc_empty_space height=”50px”][/vc_column][/vc_row][vc_row disable_element=”yes”][vc_column][vc_tta_accordion active_section=”1100″][vc_tta_section title=”How do you setup the Yealink A20?” tab_id=”1623409846548-f09c78bb-d4ab237c-92320573-6a0f”][vc_column_text]The Yealink A20 is easy to set up. Connect the Yealink A20 into your display with a HDMI cable. Then connect the A20 to the VCH51 with the Ethernet cable and to the internet with an Ethernet cable. Once that is all connected you will need to plug the A20 into the power adapter.?[/vc_column_text][/vc_tta_section][vc_tta_section title=”How do you use the Yealink A20?” tab_id=”1623409902767-334674a1-f9f1237c-92320573-6a0f”][vc_column_text]The Yealink A20 is simple to use, to control the camera go to Settings, General, System Settings and Control. Then tap the zoom in/out button to zoom the camera in or out and tap the navigation buttons to pan or tilt the camera. To set a camera presets, you can go to Camera Controls, tap on the zoom in/out to adjust the focal length. Once you have found the right camera adjustment that you like, long press the Preset 1/Preset 2 or Preset 3 and click on Save Position to save the preset.[/vc_column_text][/vc_tta_section][vc_tta_section title=”How do you sign in to your device?” tab_id=”1648128004898-040ec1ff-65500573-6a0f”][vc_column_text]- Select Sign In
- Enter your user credentials.
- ?After the device signs in successfully, select Got it.
- Do one of the following:
Select New meeting or Select More > New meeting
- Enter the participant account information to search and then select the desired participant
- Select Start meeting
Press the navigation key to find your meeting, and do one of the following to join the meeting:
- Select Join to join the scheduled meeting
- On your remote control, press the Teams button?
[/vc_column_text][/vc_tta_section][vc_tta_section title=”How do you reset the camera on the Yealink A20?” tab_id=”1648128007051-e2284854-8a200573-6a0f”][vc_column_text]You can reset the camera to factory defaults.
Procedure
1. Go to More > Settings > Device Settings > Others.
2. Select Reset Camera.
3. Select OK to reset the camera[/vc_column_text][/vc_tta_section][vc_tta_section title=”How do you reboot your Yealink A20?” tab_id=”1648128400440-f3ee0113-ddd20573-6a0f”][vc_column_text]Your system administrator may ask you to reboot your device if it malfunctions or to assist in troubleshooting.
Procedure
1. Go to More > Settings > Device Settings > Reboot.
2. Select Reboot phone.
It prompts if you are sure to reboot the device.
3. Select OK[/vc_column_text][/vc_tta_section][vc_tta_section title=”How do you reset the Yealink A20?” tab_id=”1648128402002-460a6897-dbc70573-6a0f”][vc_column_text]You can reset the device to factory settings with the need for entering the Administrator’s password.
Procedure
1. Go to More > Settings > Device Settings > Debug (Admin only, default password: 0000).
2. Select Reset to Factory Settings.
It prompts if you are sure to reset to factory default.
3. Select OK.[/vc_column_text][/vc_tta_section][vc_tta_section title=”Why does the device display ?Network unavailable?” tab_id=”1648128608253-3a864954-71aa0573-6a0f”][vc_column_text]Ensure that the switch or hub in your network is operational.[/vc_column_text][/vc_tta_section][vc_tta_section tab_id=”1648128634079-0cc92b26-ac460573-6a0f” title=”Why does the device display time and date incorrectly?”][vc_column_text]Check whether your device obtains the time and date from the SNTP server automatically. If the device fails to connect the SNTP server, contact your system administrator for more information. You can also configure the time and date manually.[/vc_column_text][/vc_tta_section][/vc_tta_accordion][/vc_column][/vc_row]
Related products
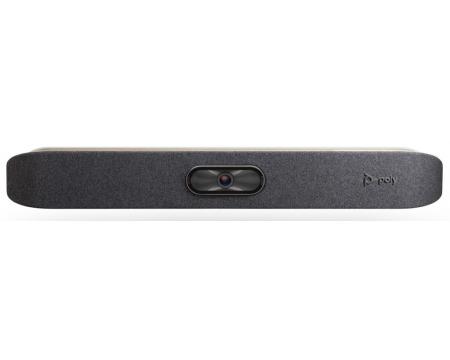
SKU: TAPRAPGGLCTL/3
CALL FOR AVAIL

SKU: 83Z45AA#ABU
1 in stock


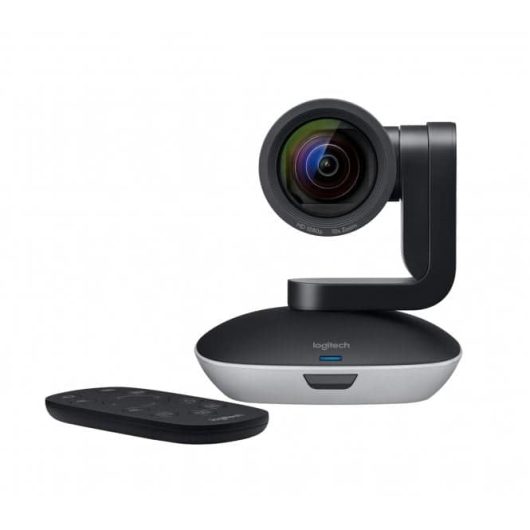
Conferencing
SKU: UVC30-ROOM
11 in stock

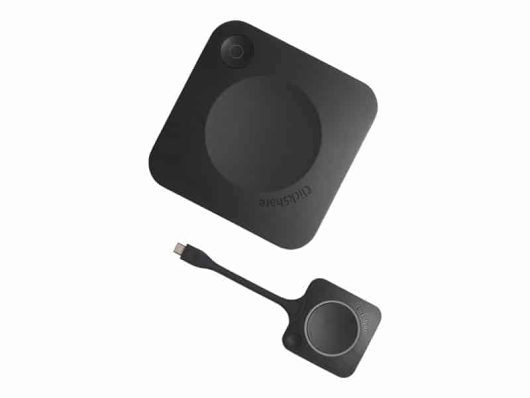
Accessories
SKU: CROSCFMSWDISSTD
147 in stock

SKU: 7710-309
CALL FOR AVAIL

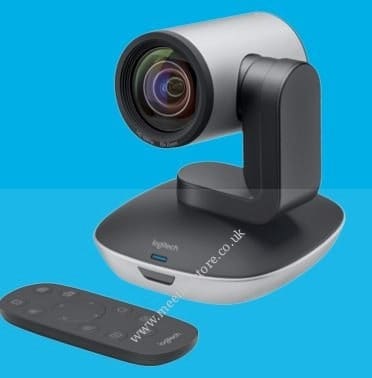
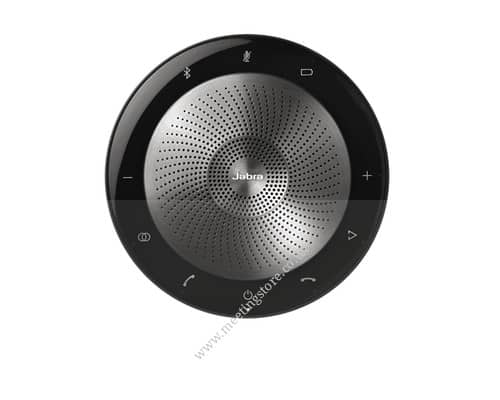
SKU: 960-001186
11 in stock

Conferencing
SKU: 939-001644
43 in stock