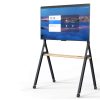


Heckler AV Trolley Designed For DTEN 55″ Screen
£1,546.87 Inc VAT ( £1,289.06 Ex VAT )
- Engineered for DTEN AIO conference displays – precise fit and robust support
- Heavy-duty steel construction ensures long-lasting durability and stability
- Flexible mounting options for optimal viewing and space-saving installation
- Easy installation with included hardware – no specialized tools required
Out of stock
Product Overview
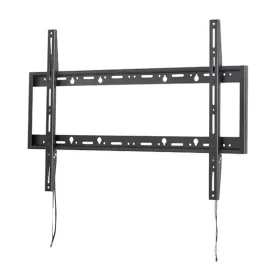
Enhance your conferencing setup with the Premium DTEN Wall Mount Bracket, designed specifically for DTEN All-In-One (AIO) conference displays. This accessory delivers a secure, professional mounting solution, ensuring your display is perfectly positioned for every meeting and collaboration session.
Built with high-grade steel, this mount bracket offers exceptional stability and safety, making it ideal for both corporate boardrooms and educational environments. Its sleek, low-profile design complements modern interiors while maximizing available workspace.
Available at Meetingstore.co.uk, a division of 21st Century AV Ltd.
Key Features
- Custom Fit: Tailored for DTEN AIO conference displays, ensuring seamless integration and support.
- Heavy-Duty Construction: Manufactured from premium steel for superior strength and reliability.
- Flexible Mounting: Multiple mounting points allow for versatile installation on various wall types.
- Space Optimization: Slim profile keeps your display close to the wall, freeing up valuable desk or floor space.
- Easy Installation: Includes all necessary hardware and clear instructions for a hassle-free setup.
Use Cases
- Corporate conference rooms seeking a clean, professional display installation
- Educational institutions upgrading to interactive AIO displays
- Remote collaboration spaces requiring secure and stable mounting solutions
- Public venues and training centers with high-traffic environments
Compatibility Details
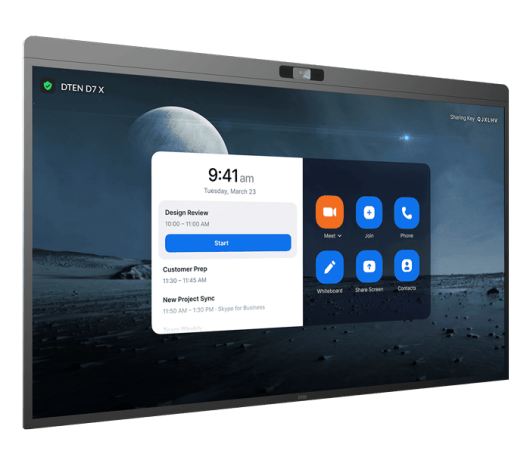
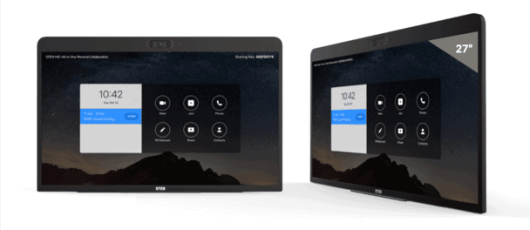
This wall mount bracket is engineered for compatibility with DTEN AIO conference displays, supporting a range of screen sizes and models. It is also suitable for other VESA-compatible displays within the specified weight and size limits. Please refer to your display’s technical documentation for exact compatibility.
What’s in the Box
- DTEN Wall Mount Bracket
- Complete installation hardware kit
- Step-by-step installation guide
| Camera_Resolution | 1920×1080 (full hd) |
|---|
Related products

Commercial Displays
£2,385.71 ex VAT
(£2,862.85 inc VAT)
(£2,862.85 inc VAT)
In stock

Commercial Displays
£710.08 ex VAT
(£852.10 inc VAT)
(£852.10 inc VAT)
In stock
Commercial Displays
£78.28 ex VAT
(£93.94 inc VAT)
(£93.94 inc VAT)
In stock

Commercial Displays
£568.88 ex VAT
(£682.65 inc VAT)
(£682.65 inc VAT)
In stock

Commercial Displays
£1,008.00 ex VAT
(£1,209.60 inc VAT)
(£1,209.60 inc VAT)
Out of stock
Commercial Displays
£8,036.59 ex VAT
(£9,643.91 inc VAT)
(£9,643.91 inc VAT)
Out of stock
Commercial Displays
£88.28 ex VAT
(£105.94 inc VAT)
(£105.94 inc VAT)
Out of stock

Commercial Displays
£993.98 ex VAT
(£1,192.78 inc VAT)
(£1,192.78 inc VAT)
In stock